Many of us use large usb drives (16GB and above capacity usb sticks/SD cards) for creating Haiku boot disk, this guide is for installing Haiku to the remaining free space on these drives. This method is useful for testing new hardware or introducing Haiku to friends.
 |
Note: Have tested with Haiku R1/beta5 64bit, on Laptops and Desktops systems that only have UEFI. |
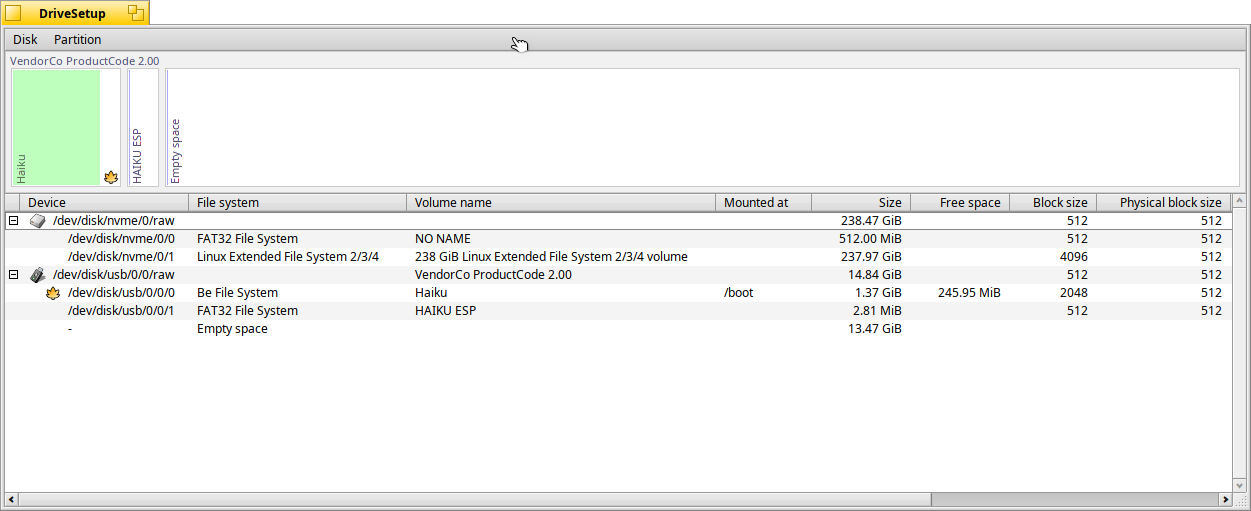
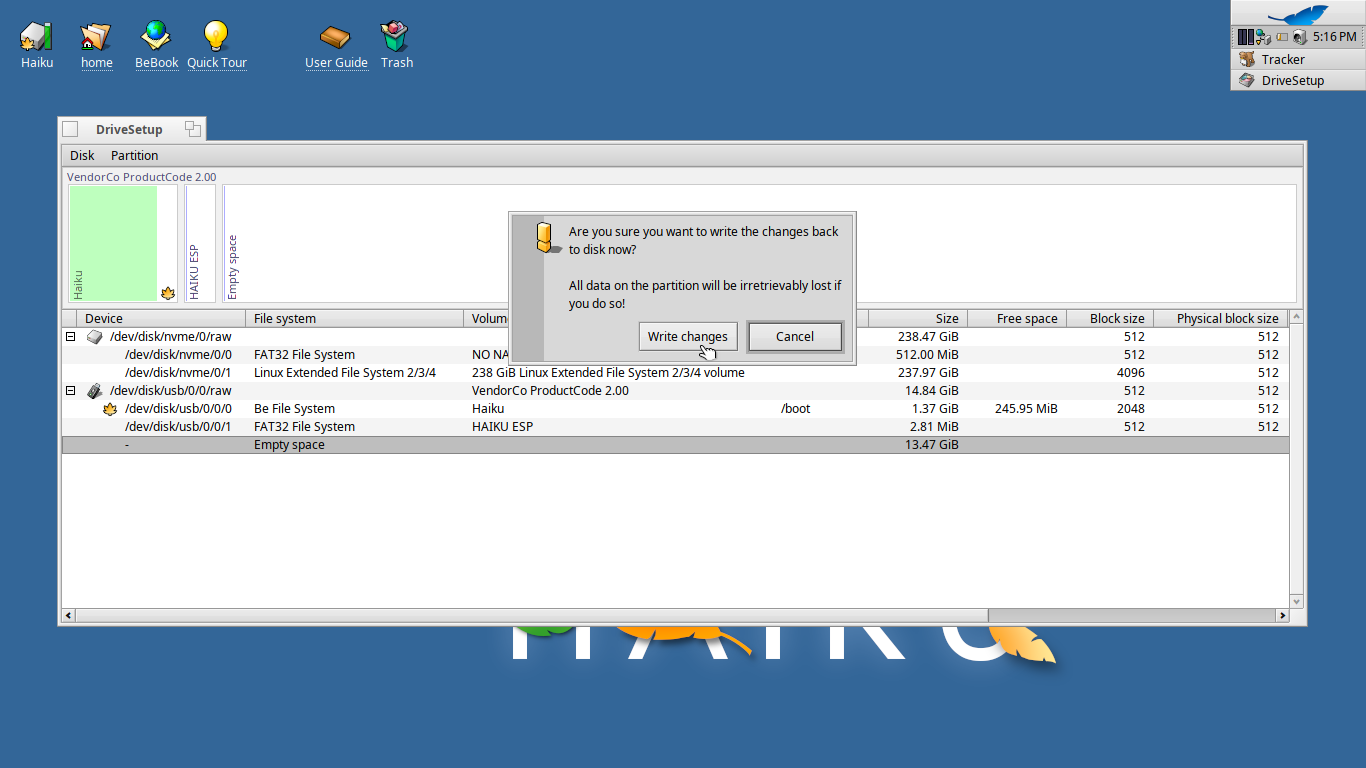
1. Open DriveSetup, Select empty space on your liveboot usb drive and create Partition.
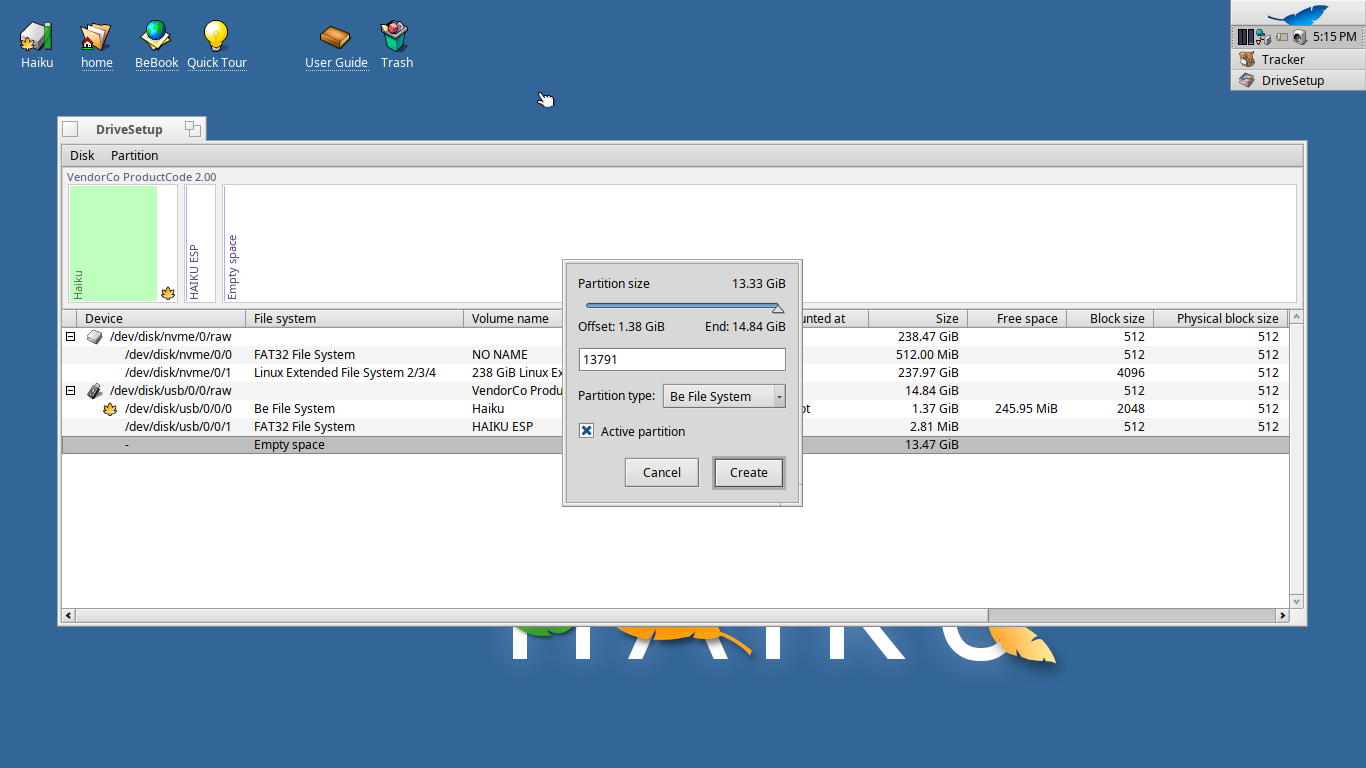
Partition Type: Be File System
Select - Active Partition.
2. Format the newly created Be Partition to Be File system.
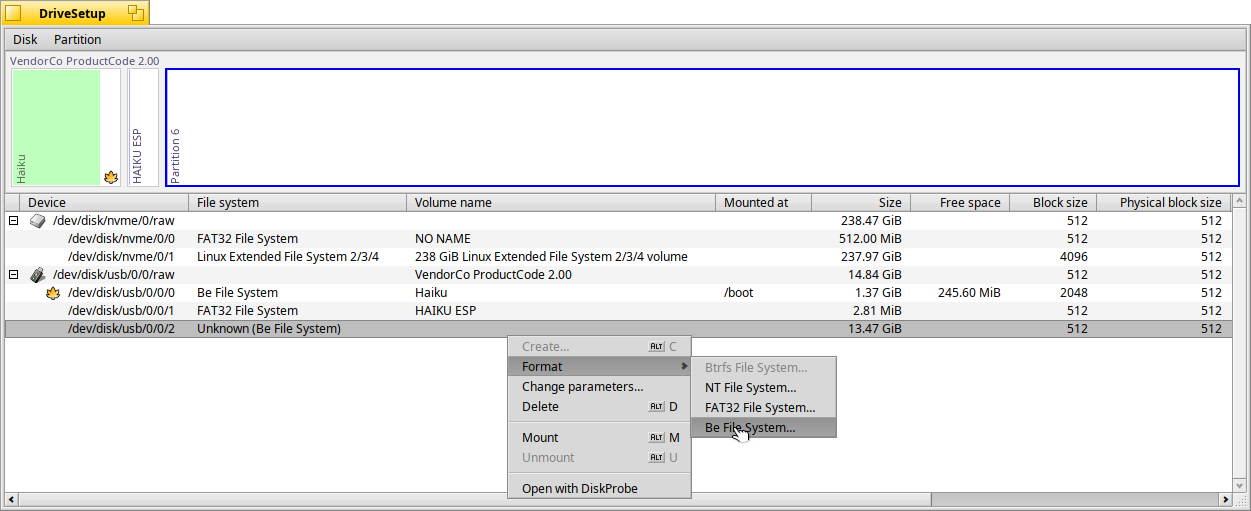

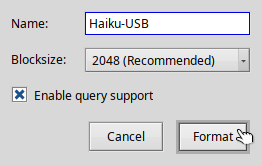
Set Volume name - i have used “Haiku-USB”, select Blocksize “Recommended” and “Enable query support”

3. Open HaikuInstaller and install onto newly formatted Be File System(“Haiku-USB”) on your LiveBoot drive and install.

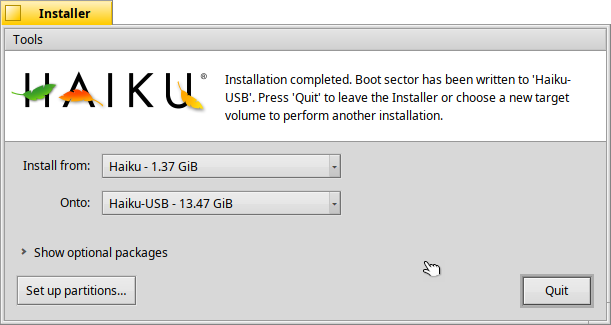
4. Once Installation is completed, reboot with LiveBoot drive plugged-in and hit “space bar” for boot loader options.
5. Select “Haiku-USB” from bootloader menu “Select volume/state” and hit “continue booting”.
You may delete the original liveboot partition(1.5GB) if your are not planning to install Haiku on other systems. If not deleted, you’ll have to hit “space bar” for boot loader options every time the system is rebooted.
Hope this helps.
Made available by BeSly, the Haiku knowledgebase. |


