")
")
")
")
")
")
")
")
Get Haiku
Even if I can assume that you will hold a Haiku installable version in your hands, when you read this tutorial, I will tell you there you can get Haiku:

Here we select a ISO Image file, in order to burn it on a CD.
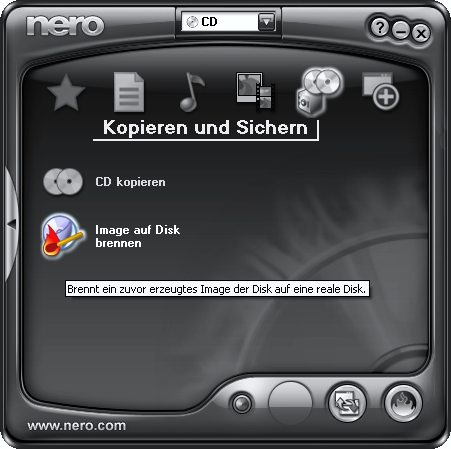
Open you burning application and switch to the part of burning image files. Select the Haiku image file (check if it need to upack before) and burn it on a CD.
back to Index
Create a Partition
To install haiku we need a free partition or hard disk. A partition is a portion of a disk that is recognized as a separate hard disk. How to create a partition I describe here on hand Paragon Partitions Managers for Windows. the most programs to create partitions are very similar in his functions, so I guess there will be no program for you to get this also with the program of your choice points.
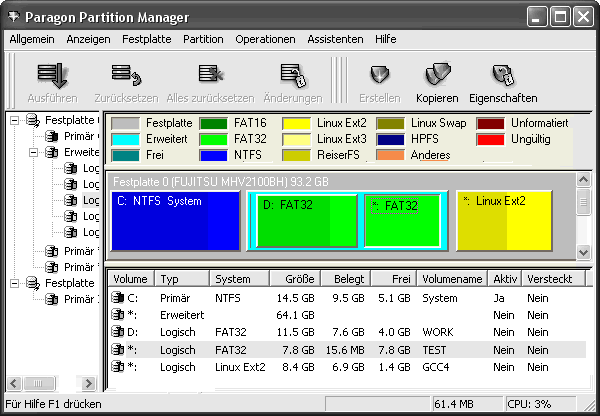
First, an existing partition must be reduced so that we can create a new one. We do a right-click with the mouse on the partition we want to make smaler. Then select "rezise".
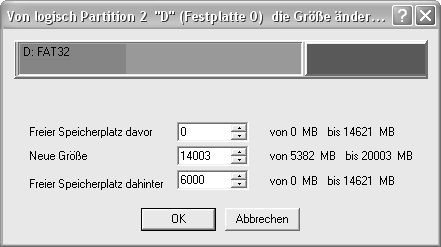
In our example we create a partition of 6000 MB at the end of the available partition or hard disk. Then we press Ok.
Back in the main view we make a righ-click on the now free space ("Free") and then we press on Create.
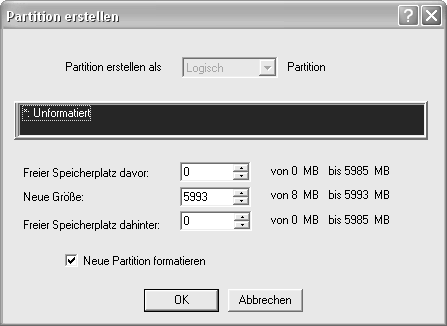
Since we want to use the complete size of free space, we here simply press on Ok.

Now we give a name for the partition in volume name and select at file system a File system. Since we are working in our example on Windows, you should not select a Windows file system (FAT, NTFS). This can make complications, if you should make a reboot in between.
For my part I always use the Ext2FS file system, because Windows does not recognize it, so it does not can destroy your partition-table.
Then we press on Ok.
Back in the main view we select Execute to create the partition. Now, all of our selections will be executed yet.
back to Index
Installing Haiku
To install Haiku, put the Haiku CD into your CD drive and restart the computer. To start from CD you need to setup your BIOS to start from CD first. The BIOS is the Setting menu of your motherboard. To get into the BIOS you need to press a key or combination of keys. This can be, for example, Delete, F-keys... This will be displayed then you start up your computer normally.
In the BIOS watch out for the settings for the Bootsequence. Here need to be the CD drive at first position. How to naviagte into your BIOS are displayed (can be +/-, up/down).
Before you leave the BIOS you need to save your changes. The most BIOS have the option Save and Reboot.
Now, Haiku should be run from CD.
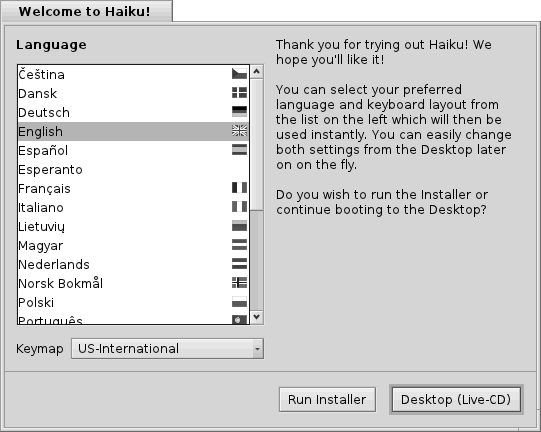
First comes the query for the language in which we want to use Haiku. We select it and press on Run Installer.
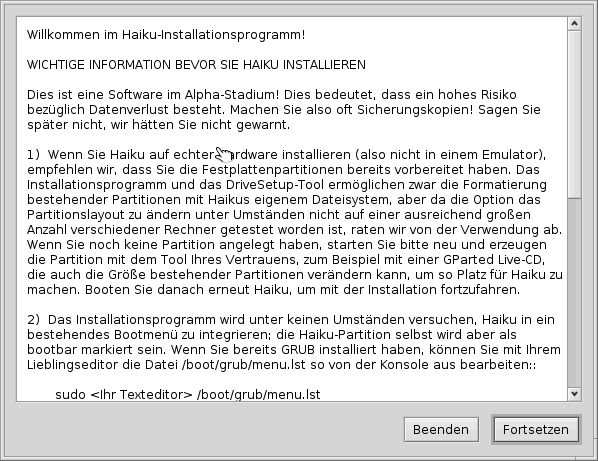
Then come the licence information. If you agree with the terms of pressures press on Continue.
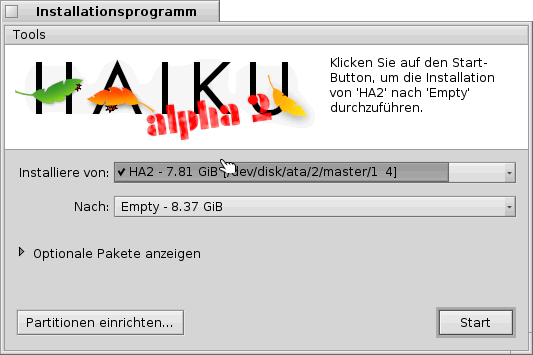
Next we come to the selection of the source and destination drive. Since we have started from CD we need only to select the destination drive.
Before we press on Start ton run the installation now, we still have to format the target drive.
To do this we select into the menu at Tools the option DriveSetup.
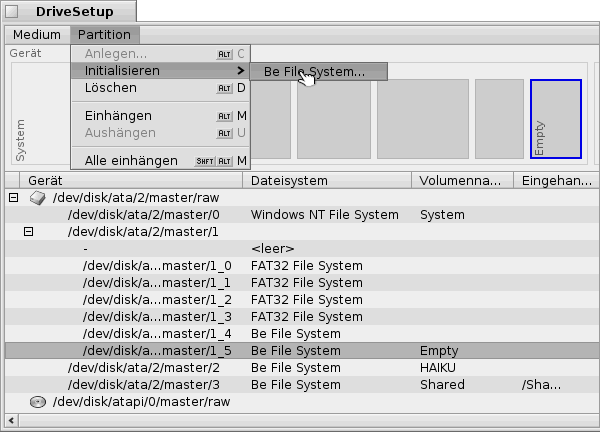
In the partition manager of Haiku (DriveSetup) we mark you target partition (Haiku: 6000 MB). Then we select into the menu at Partition the option Initialize and then Be File System.
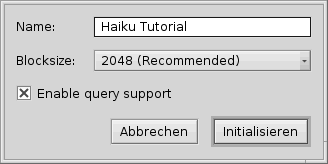
Then we specify a name for the partition at Name. Then we select at block size a size of 2048 and press on Initialize. A security query will asking you to do this step really.
Since we have made a change to the partition, we need to select the target driveagain. Now press Start to install haiku.
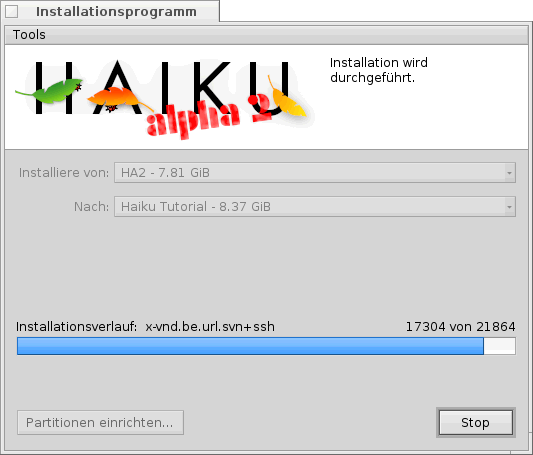
During installation, you see a status display of the installation progress.
back to Index
Translation bya Christian Albrecht, May 2013
Made available by BeSly, the Haiku, BeOS and Zeta knowledge base.